Home Music Recording Studio Equipment – All a Beginner Needs
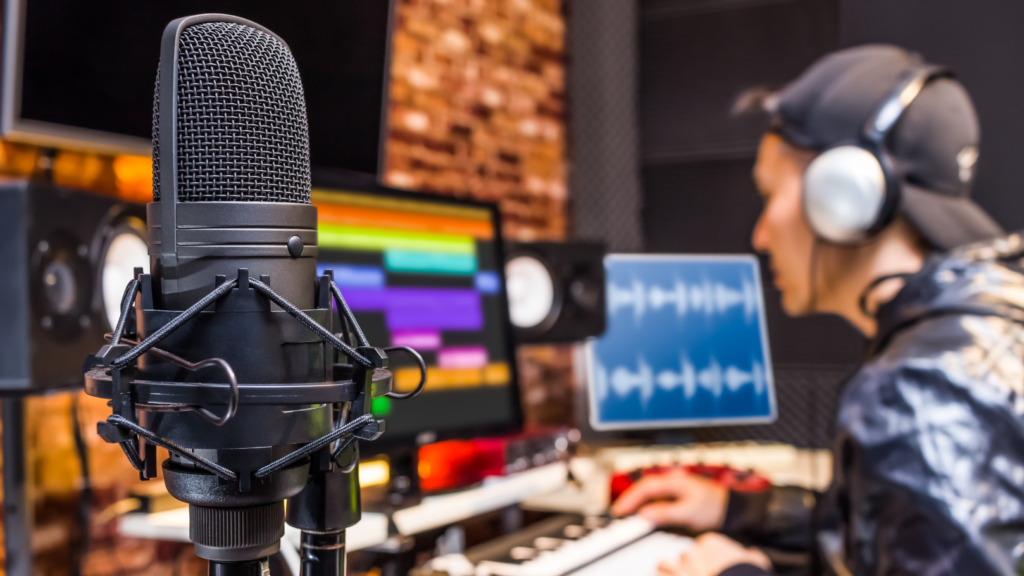
So, you’ve made the decision to record and produce your own music at home. Or perhaps you want to record other people’s music and earn a bit of extra income? Great, you’ve taken the first step! But where do you begin? There certainly is an overwhelming amount of information online. Well, allow me to help you, with this guide on ‘How to Record Music at Home’.

When the era of mainstream music recording began, it was a complex ordeal. You would have needed an enormous budget, a large space and a whole load of technical scientific knowledge. In fact, early sound engineers walked around in lab coats and were indeed highly skilled engineers, capable of fixing, maintaining and operating complex, pioneering technology. Lucky for you, things have changed.
There has never been a better time on planet earth to be a musician. We have an endless supply of affordable, professional equipment and tools available at our fingertips. If you know what you’re doing, you can make a ground-breaking album from your own home with minimum equipment. Let’s begin by looking at our first essential piece of gear.
The Computer | Your Recording Workhorse

Perhaps you already have a computer, either a desktop or a laptop. But is it powerful enough to produce music? Processing audio and recording music takes up a hefty amount of power from your computer. So, what kind of power do you need?
CPU (Central Processing Unit) | I would recommend a CPU of at least 2.7 GHz. A dual-core computer will suffice, but one with 4-cores will be able to handle more parallel processing.
RAM (Random Access Memory) | Virtual instruments known as sample libraries and plug-ins use a lot of memory. I’d recommend that you purchase a computer with at least 8GB of RAM, if you can afford 16GB, even better.
HDD (Hard Drive Disk) | Audio files, sample libraries, and project files can end up taking up A LOT of space over time. You can either use your computer’s internal HDD, or buy an external HDD. In either case go with a memory size of 1TB, with at least 7200 RPM (Revolution Per Minute). RPM essentially refers to the speed of the HDD.
If you already have a computer with these specs, great!! If not, I’d highly recommend buying an Apple computer. Why? Well, they are notoriously robust, built to last, and perfect for audio and video work. That is why they have become an industry standard. Another reason is that Apple computers come with GarageBand, a very basic audio software that is an excellent choice for beginners, and it’s free! More on that later.
Here are some of my Apple computer recommendations:
DAW (Digital Audio Workstation) | Your Interface for Creation & Experimentation

What is a DAW? Simply put, it’s audio software. It’s where you do absolutely EVERYTHING, from recording, editing, mixing and mastering your audio. There are many options out there, but just like audio interfaces, they essentially ALL DO the exact same thing, they serve as your workstation.
Some are preferred for different uses, such as live music, electronic music, composing, and audio editing. Let’s break down some of the most common without going too technical. First, let’s look at the free options.
Apple’s GarageBand | This is a seriously impressive DAW that includes a large amount instruments, amps, presets, a diverse session drummer, and editing/mixing tools. It is also incredibly user friendly, as the layout is clean, colourful, and easy to navigate through. If you own, or intent to buy an Apple computer then this is a no brainer for a beginner.
Audacity | One of the most basic DAWs out there, which is why I’d not recommend it. If you try Audacity just to play around with, it’s fine, but I think after a couple of weeks you will begin to realise you need something more powerful and user friendly.
Instead of using a crappy free DAW, you should use the ‘free’ or ‘lite’ version of a professional DAW, but with less features. As a beginner, you won’t miss them anyway, besides you can always upgrade later on.
The Audio Interface | Getting Audio into Your Computer
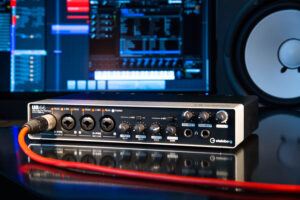 You have your computer, brilliant! But wait… err… How do you get audio into your computer? That’s what an audio interface is for. The choices are endless, but don’t get too overwhelmed! They basically all do the same thing, some have a few extra fancy features, and the amount of inputs/outputs vary, and that is something you need to think about.
How many inputs do you need?
If you want to record a full band all at once, you would need an array of microphones and a much bigger budget. If you are a singer-songwriter, you will need at least two inputs as a minimum. One for your guitar (or other instrument) and one for your voice. If you are just a guitarist, you can get by with only one input. However, a minimum of 2 is a good starting place; 4 inputs however will give you more flexibility. It really depends on your needs, and only you will know that.
Let’s check out some here.
Microphones | The Ears of Your Studio

There are a few different types of microphone, which all have different purposes. Choosing the right type for you depends on what you want to record. Let’s look at the most commonly used types.
Dynamic Microphones
These are good all-around mics which are more commonly used on vocals, drums and guitar amps. Reason being is that they are very robust and capable of withstanding much louder sound sources. For this reason, they are favoured for live sound situations over condenser microphones. They are fairly low cost and don’t need a power source. If you just want to record a guitar amp, or more aggressive vocals, then a dynamic mic is a great choice for you. Here are my two best budget picks:
![]() Shure SM57 – One of the most renowned dynamic microphones on the planet. Famous for its robust durability and excellent sound quality. You could drop this mic from a top floor building, and no doubt it would still survive. SM57s are found in studios all over the world, and their desired use is for snare drums, guitar amps, and anything else that is bound to get loud.
Shure SM57 – One of the most renowned dynamic microphones on the planet. Famous for its robust durability and excellent sound quality. You could drop this mic from a top floor building, and no doubt it would still survive. SM57s are found in studios all over the world, and their desired use is for snare drums, guitar amps, and anything else that is bound to get loud.
![]() Shure SM58 – Just as famous as the 57, but for a different application, vocals. The SM58 is among the top vocal mics in the world. Why is it better than the 57 for vocals? This is a hot topic for debate, so I think Shure can answer it better. They say: “The SM58 and the SM57 share the same mic element, the Unidyne III. The only difference between these two models is the grill design. The SM57 grill design allows more proximity effect because the mic diaphragm can be placed closer to the sound source.”
Shure SM58 – Just as famous as the 57, but for a different application, vocals. The SM58 is among the top vocal mics in the world. Why is it better than the 57 for vocals? This is a hot topic for debate, so I think Shure can answer it better. They say: “The SM58 and the SM57 share the same mic element, the Unidyne III. The only difference between these two models is the grill design. The SM57 grill design allows more proximity effect because the mic diaphragm can be placed closer to the sound source.”
For a more comprehensive dynamic microphone list, see my article: The Best Dynamic Microphones 2020.
Condenser Microphones
These microphones are a lot more sensitive than dynamic microphones. They also require a power source in the form of 48V (phantom power), which can be supplied from your audio interface as we explored earlier. There are two common types of condenser mics, small diaphragm and large diaphragm. As the name suggests, it’s related to the size.
There are no rules in recording, but as a general guideline small diaphragm mic are excellent for picking even finer details than their larger counterparts. You commonly see them used on pianos, acoustic guitars and smaller instruments. Large diaphragm condensers are an excellent allrounder, and what I would recommend to purchase for your first mic. Every studio in the world has a collection of LDC microphones.
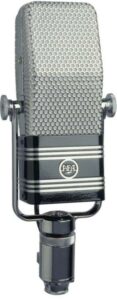 Ribbon Microphones – I would not recommend a ribbon microphone when starting out because they are extremely sensitive and usually expensive! Why? Because they have an excellent vintage quality to their sound and they’re just exceptional at picking up very fine detail. They are the preferred choice for experienced engineers when dealing with woodwind, strings, piano, choirs and vocals.
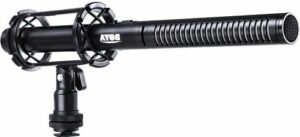 Shotgun Microphones – It’s very unlikely that you will ever need a shotgun microphone, unless you are working on film sets and your job is to record actors’ dialogue. That’s because shotgun mics capture audio very directly, eliminating anything outside of a narrowly concentrated area. You don’t usually see this type of microphone in recording studios for music, so I wouldn’t concern yourself with them.
Headphones or Studio Monitors | Your Tools of Accuracy
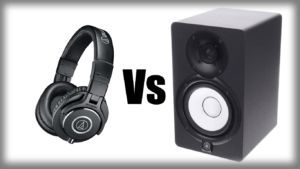 Ideally you should have both, but if noise is an issue, picking headphones over studio monitors will be the better option. ‘Can’t I just use any old headphones or speakers?’ you may ask, and the answer is ‘absolutely not!’. Why? Because studio headphones and monitors are specifically engineered for listening to music accurately and neutrally.
You see, consumer headphones and speakers are designed to make music sound excellent, they add more shine and EQ to music, some have more bass, some are brighter and so on. But when we are recording and mixing music, we need to be able to listen to music precisely with no added sparkle. A good quality set of studio headphones or monitors will open your ears up to a whole new sonic world! ‘If they are neutral, does it mean they won’t sound good?’. ‘Definitely not’, they sound full, detailed and will allow you to produce your own, or others’ music to a highly professional standard.
Where to begin…? There are so many options for both, and the prices can range from low to extremely high, like all audio and music equipment!
The MIDI Keyboard | An Infinite Universe of Instruments & Sounds
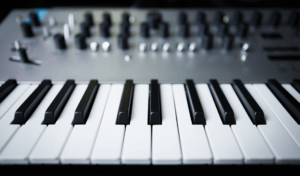
You read that title correctly. It may just look like a simple keyboard, but nothing could be further from the truth. MIDI (Musical Instrument Digital Interface) is simply the conversion of data into audio. If you want access to an endless supply of sound textures, synthesisers, sample libraries and instruments, then you’ll most certainly want a MIDI keyboard.
MIDI is, and will be your most powerful tool when creating dynamic and exciting music. It’s addictive, fun and enthralling having so many options at your fingertips. When you play the notes on a MIDI keyboard, they are created in the form of MIDI notes, which you can then edit in any way you like. They look like simple blocks and can be rearranged or moved with ease.
Where do all these sample libraries, synths and instruments come from? They are purchased separately, and there are thousands of them available. However, some DAWs like Logic Pro X come with a tonne of free ones which is why I highly value and recommend it as stated earlier.
Ok, enough rambling, let’s look at some options. The prices vary greatly due to the keyboard size, the feel and quality of the keys (weighted like a piano, or unweighted), and extra features, such as added controls on the MIDI keyboard, which can include volume, panning, record/play etc.
Cables | The Lifelines of Your Studio

Cables, they’re everywhere these days, although wireless and bluetooth are becoming more and more common. It’s fairly obvious that if you want to have a recording studio, you’re going to need some cables to get the sound into your audio device. I would avoid going for the cheapest options available, as they will break within time, and you’ll have to buy a replacement anyway. Let’s look at the types you need.
A Microphone Stand | Keep your Mic Secure!

Previously, I made the mistake of buying a cheap mic stand. Whilst it served its purpose in the beginning, over time it became loose, unstable, and eventually broke completely. I remember hearing a THUMP as my lovely microphone fell and hit the floor… That sound still haunts me. It may seem like a very basic piece of equipment, but don’t underestimate its significance. Microphones can be heavy; they are expensive investments and need to be supported securely and comfortably.
If you buy a mic stand constructed of cheap plastic, it is guaranteed that over time it will fall apart and become unusable. If you have a heavy mic -like a typical large diaphragm condenser microphone- a cheap mic stand won’t support the weight. Likely, it will just fall down, crashing onto the floor… That doesn’t mean you have to break the bank! You can buy excellent quality mic stands for very reasonable prices, let’s have a look.
A Pop Filter | Kill Those Plosive Sounds!
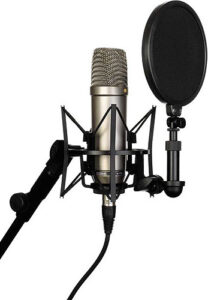
A what filter!? A POP filter. What the hell is that? No, it doesn’t filter pop music. Its job is to eliminate plosive sounds when you sing or talk certain words into a microphone. These plosive sounds are usually caused by words containing strong consonant sounds, typically b or p. When you pronounce these strong sounds, you push a lot of air out of your mouth and into the microphone. The result is a rather nasty sound on your recording, caused by the blast of air. A pop filter simply absorbs this air and prevents these sounds from happening. It is A MUST for recording vocals or speech, and great news, they’re not expensive.
Your Recording Journey Awaits!
There you have it! So, what are you waiting for? The beginning of your journey starts with buying the correct equipment for your needs. The next step is learning how to use it all whilst having fun. As you can see, you really don’t need a great deal of equipment to begin recording music at home. With a reasonable budget you can be well on your way to professional sounding music that stands out from the crowd. It’s an excellent hobby or profession to invest in.
Practicality wise, you can use it as an extra source of income, producing other peoples’ music. You could even get into sound design, foley and audio editing for video games, TV and film. Creativity wise, it will enable you to record and develop your own musical ideas, whilst cultivating your listening capabilities and enhancing your musical skills. So, I ask again, what are you waiting for? Experiment, explore, learn, create and have fun! That’s what it’s all about. See you on the other side.
Chris
chrissoundlab.com
